
How to Embed an AI Chatbot on a Webflow Site
A step by step guide to embedding an AI chatbot on Webflow through the Custom Code panel, covering site-wide and single-page installs, the publish step everyone forgets, and agency handoff practices.

Stan
@stan
Webflow powers 0.9 percent of all websites as of W3Techs' July 2026 survey, a small number that hides a fast trajectory: usage has roughly doubled since 2021, and independent analyses count more than 800,000 live Webflow sites. More telling than the count is who builds them. Webflow is the platform of designers and agencies, which means Webflow sites tend to be polished, conversion-focused, and built for clients who expect the site to generate business.
That expectation is exactly where an AI chatbot fits. A beautifully designed site still loses the visitor who has a question at 11 p.m. and no one to ask. The behavioral data is unambiguous: 82 percent of chat users expect an immediate response and more than half give up within three minutes of silence, according to 2026 live chat benchmarks.
How Long Will Chat Visitors Wait?
Visitor expectations for chat response speed, and the abandonment cliff at three minutes.
Sources: Helpable live chat response time benchmarks, 2026; GreetNow live chat statistics, 2026.
The install itself is a five minute job through Webflow's Custom Code panel. This guide covers the site-wide install, the single-page variant, the publish step that catches almost everyone the first time, and a few practices that matter when you are installing on a client's site rather than your own.
Before You Start
- A trained chatbot. Build and train the bot before putting it in front of visitors. The fastest route is letting it crawl your published site so your existing copy becomes the knowledge base; the full process is in our guide to training an AI chatbot on your own business data.
- Webflow permissions and plan. You need Editor access or higher on the project. Webflow gates custom code behind an active Site plan (or a paid Workspace), per the Webflow Help Center; the fields accept up to 50,000 characters each, which a one-line chat snippet does not begin to dent.
- Domains on the allowed list. In the Paperchat dashboard, open the chatbot's Setup tab and add both your custom domain and your
webflow.iostaging domain to Allowed Domains. Adding staging means the widget works while you preview, not just after launch.
Step 1: Copy Your Embed Code
In your Paperchat dashboard, open the chatbot's Embed tab and copy the HTML snippet:
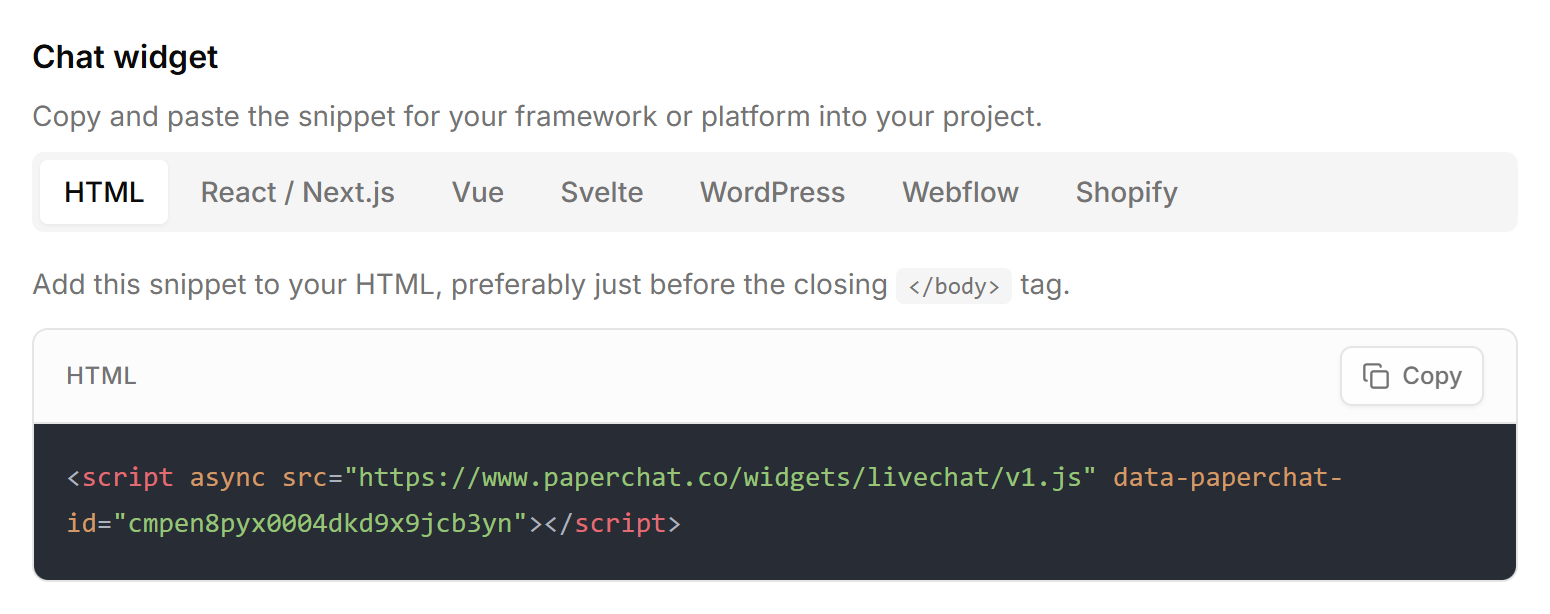
<script async src="https://www.paperchat.co/widgets/livechat/v1.js" data-paperchat-id="YOUR_CHATBOT_ID"></script>One line, no dependencies, no stylesheet. Everything else happens in Webflow.
Step 2: Paste It into Footer Code
- In the Webflow Designer, click the project name in the top left and choose Site Settings (you can also reach settings from the dashboard by hovering the project and clicking the gear).
- Open the Custom Code tab. You will see two large fields: Head Code and Footer Code.
- Paste the snippet into Footer Code.
- Click Save Changes.
Footer Code injects the script just before the closing </body> tag on every page. That placement matters more in 2026 than it used to: with Core Web Vitals weighing heavily in search rankings, the default standard is to keep non-critical scripts out of the head so they cannot block rendering. A chat widget has no business running before your content paints, and between footer placement and the async attribute, this one never does.
| Head Code | Footer Code | Page Settings code | |
|---|---|---|---|
| Injection point | Inside <head> | Before </body> | Per page, either position |
| Scope | Entire site | Entire site | One page |
| Right for | Meta tags, verification snippets | Chat widgets, analytics | Page-specific tools and tests |
| Render risk | Can block first paint | None | Depends on position |
Step 3: Publish, Then Verify
Custom code does not run in the Designer preview. It only executes on the published site, which produces the single most common false alarm in Webflow chat installs: you save the snippet, check the preview, see nothing, and conclude it failed. It did not. Click Publish, then open the live site in an incognito tab. The bubble should appear within a couple of seconds.
Then test with intent. Ask something your site genuinely answers and confirm the reply is specific. Ask something it cannot know and confirm the fallback behavior, an email capture or a handoff offer, matches what you configured. Slow, vague answers are a knowledge base problem, and they carry a measurable revenue cost that the widget alone does not fix.
Installing on a Single Page Only
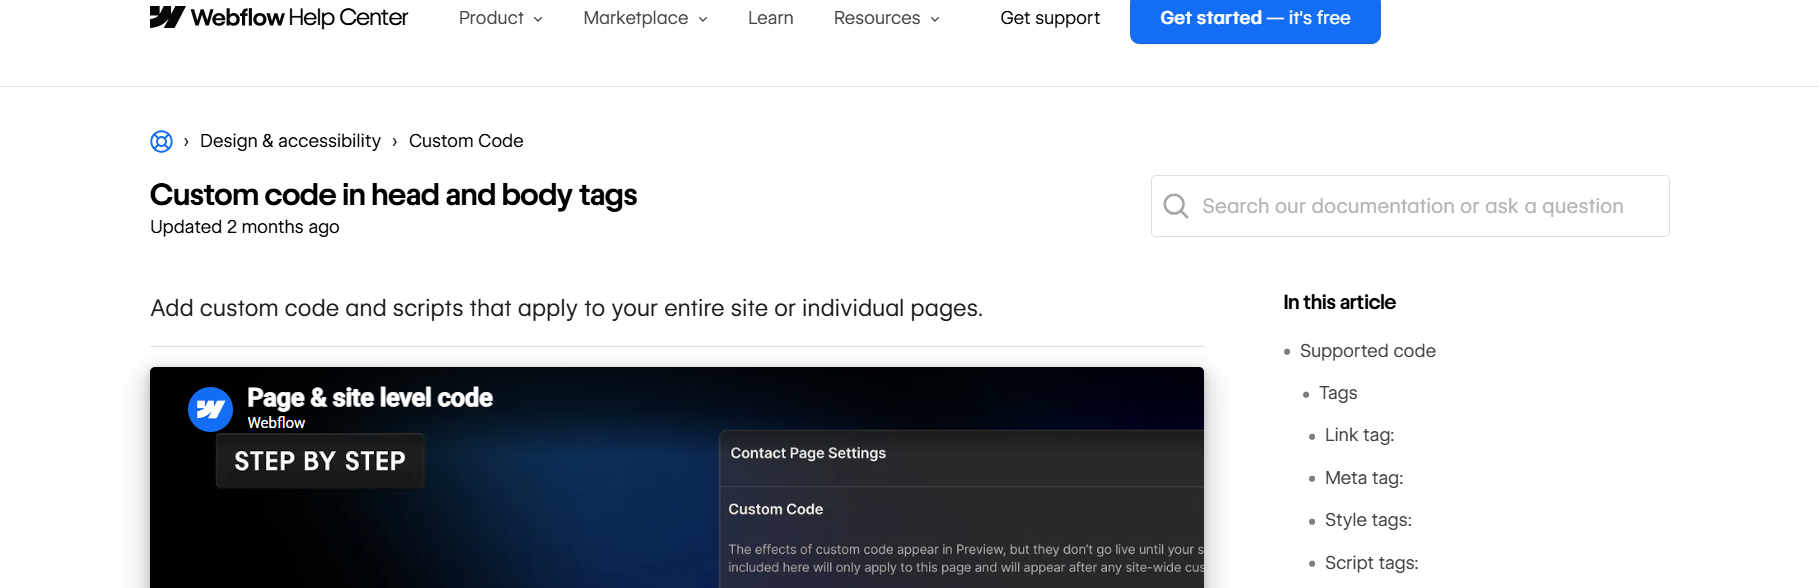
If the widget should live on one page, a pricing page or a campaign landing page, skip the site-wide fields. Open that page in the Designer, click the gear icon to open Page Settings, scroll to the Custom Code section, and paste the snippet into the Before </body> tag field. Leave the site-wide Footer Code empty in that case; running both loads two widgets into the same corner.
If You Build Webflow Sites for Clients
Webflow's center of gravity is agencies, and a chat install on a client project deserves slightly different habits than one on your own site:
- One chatbot per client, never shared. Each client's bot carries its own knowledge base, conversation history, and lead pipeline. Mixing clients on one bot is unrecoverable later.
- Label the snippet. A short HTML comment above the script tag naming the widget costs nothing and saves the next developer from guessing what the tag does.
- Hand over the dashboard, not just the site. The client will need to review conversations, update training sources, and receive handover notifications. Chat delivers ongoing value only if someone owns it after launch.
- Consider it a service line. Several agencies now bundle chatbot setup and monthly knowledge base upkeep into retainers; the economics of reselling AI chat to clients are covered in a separate piece.
Troubleshooting
| Symptom | Likely cause | Fix |
|---|---|---|
| Widget missing in Designer preview | Expected behavior | Custom code only runs on the published site |
| Widget missing on the live site | Site not republished after saving | Publish again, retest in incognito |
| Widget on staging but not the custom domain | Custom domain not on the allowed list | Add it in the chatbot's Setup tab |
| Widget only on some pages | Snippet in Page Settings instead of Site Settings | Move it to the site-wide Footer Code |
| Two chat bubbles | Site-wide and page-level installs both active | Remove one |
| Replies are generic | No training data | Add sources in the chatbot's Sources tab and wait for training |
The Bottom Line
Embedding an AI chatbot on Webflow is a one-tag job: Site Settings, Custom Code, Footer Code, Save, Publish. The publish step is the one that trips people, the allowed domains list is the one that trips everyone else, and neither takes more than a minute to get right. The condensed reference steps live in the Webflow integration guide, and if you maintain sites across several platforms, the same pattern is documented for WordPress and Squarespace as well.
More Articles
How to Add an AI Chatbot to a Squarespace Site
A step by step guide to installing an AI chatbot on Squarespace with code injection, which plans support it, the per-page alternative, and the mistakes that keep the widget from loading.
June 29, 2026
How to Add a Live Chat Widget to Your Website in Under 10 Minutes
A step-by-step guide to installing Paperchat's AI chat widget on any website — no developer required.
March 29, 2026