
How to Add an AI Chatbot to a Squarespace Site
A step by step guide to installing an AI chatbot on Squarespace with code injection, which plans support it, the per-page alternative, and the mistakes that keep the widget from loading.

Stan
@stan
Squarespace runs 2.5 percent of all websites, which sounds modest until you remember what those sites are: portfolios, studios, restaurants, consultancies, and small stores, the exact businesses that cannot afford to staff a support inbox but lose customers when questions go unanswered. Among sites built on a content management system, Squarespace holds a 3.5 percent share, fourth among the major platforms, according to W3Techs survey data from July 2026.
Hosted Website Builders: Share of All Websites
Squarespace is the third most used hosted builder on the web, ahead of Webflow and behind Shopify and Wix.
Source: W3Techs Web Technology Surveys, July 2026. Percentages are of all websites, including sites that use no CMS.
Installing an AI chatbot on Squarespace is one of the shortest platform installs there is: a single script tag pasted into one panel. But Squarespace hides that panel behind a plan tier, offers two different injection scopes that behave differently, and only runs the code on specific page types. This guide walks through the whole process, the plan requirement first, because it decides whether the rest of the article applies to you at all.
The Plan Requirement That Decides Everything
Squarespace only exposes custom code features on its higher plans. According to Squarespace's own documentation, code injection is available on the Core, Plus, and Advanced plans, along with some legacy plans (on older billing structures, this was the Business plan and above). The entry-level plan does not include it.
This is a platform rule, not a chatbot vendor rule. Every third-party script, whether it is analytics, a booking widget, or a chat bubble, needs the same feature. If you are on the entry plan and weighing the upgrade, it helps to price it against what the chat widget replaces: chat conversations convert at four to seven times the rate of contact forms, so for most businesses a single extra converted visitor per month covers the plan difference.
What You Need Before You Start
- A trained chatbot. The widget is only as useful as what the bot knows. Create your chatbot and train it on your own business data first, most easily by letting it crawl your published Squarespace pages, so your site content becomes the knowledge base automatically.
- A Squarespace plan with code injection. Core, Plus, or Advanced, as covered above.
- Your domain on the allowed list. In the Paperchat dashboard, open your chatbot's Setup tab and add your Squarespace domain under Allowed Domains. Include the built-in
squarespace.comsubdomain as well as your custom domain, so the widget loads while you test. The widget refuses to load on domains you have not authorized, which prevents anyone else from embedding your bot at your expense.
Step 1: Copy Your Embed Code
In your Paperchat dashboard, open your chatbot's Embed tab. The HTML option gives you the complete integration in one line:
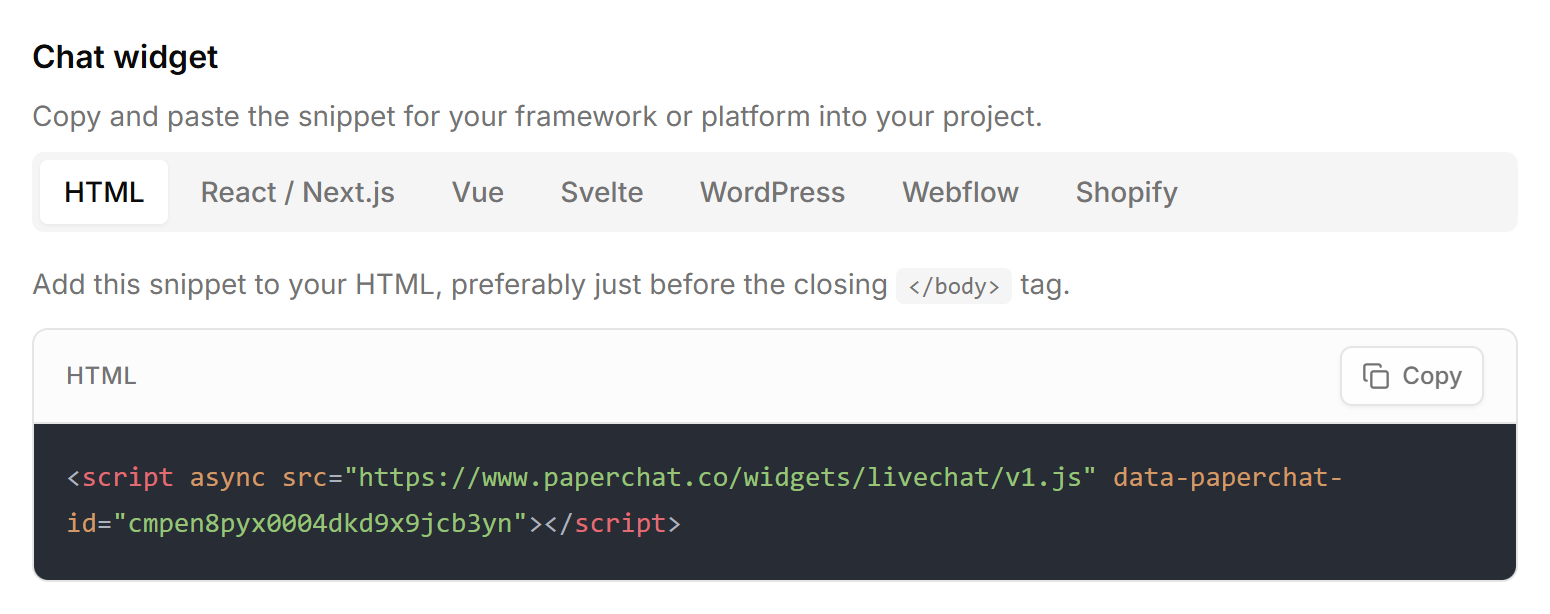
<script async src="https://www.paperchat.co/widgets/livechat/v1.js" data-paperchat-id="YOUR_CHATBOT_ID"></script>Copy it with your real chatbot ID. Everything from here is telling Squarespace where to put it.
Step 2: Add the Code with Sitewide Code Injection
- From your Squarespace dashboard, open Settings.
- Go to Developer Tools (labeled Advanced on some older accounts), then Code Injection.
- You will see fields for Header and Footer. Paste the snippet into the Footer field.
- Click Save.
The footer choice is deliberate. Code in the footer field is injected at the end of the page body, so your content renders first and the chat widget loads after. Because the script tag also carries the async attribute, the browser fetches it in parallel without pausing anything else. A chat bubble that appears a beat after the page paints costs you nothing; a script that delays your hero image does.
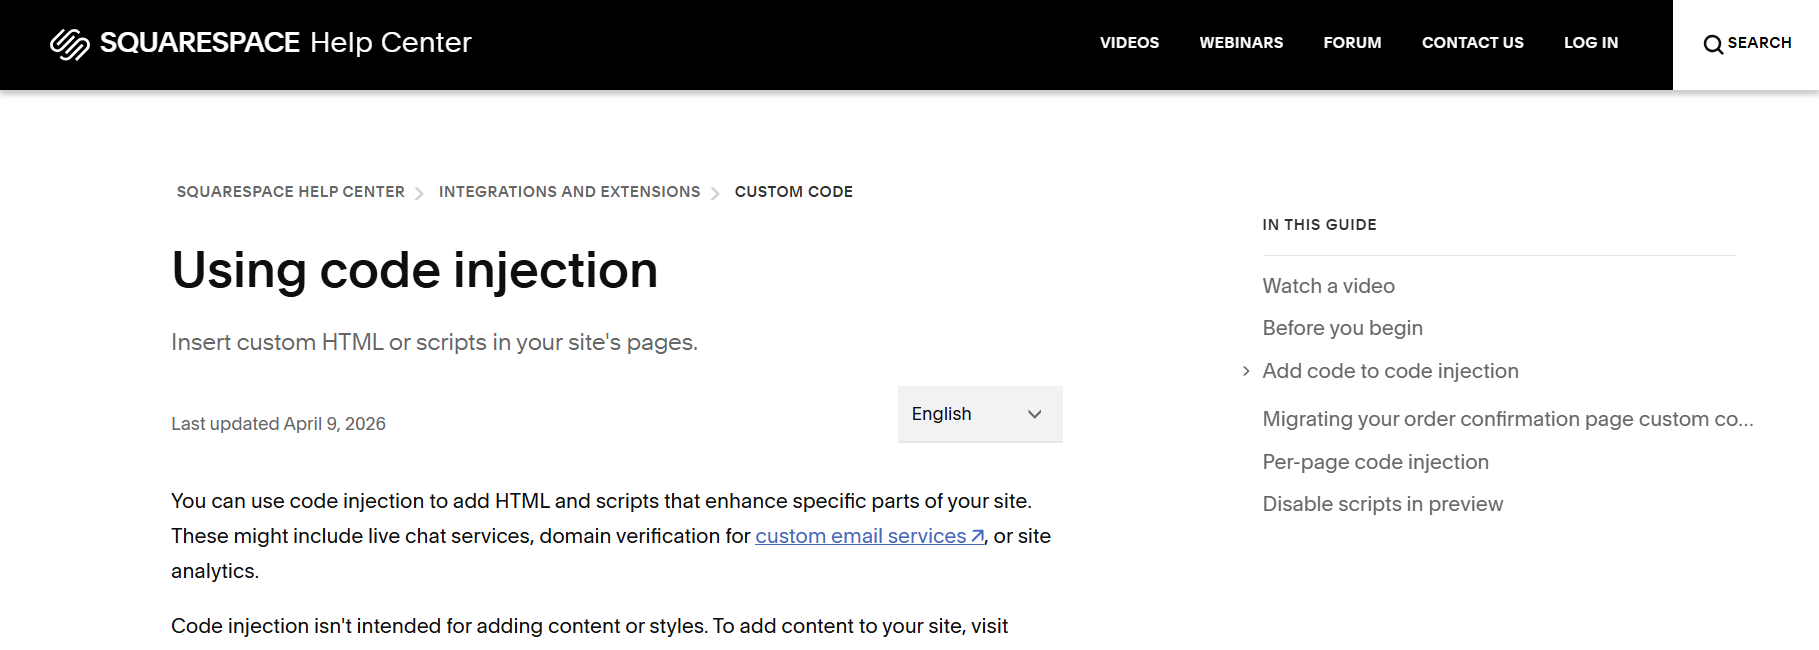
The Per-Page Alternative
Squarespace also supports code injection scoped to a single page, which is useful when you want the chat widget only on a pricing page, a contact page, or a landing page you are testing:
- Open the Pages panel.
- Hover over the target page and click the gear icon.
- Select Advanced, then paste the snippet into Page Header Code Injection.
Two notes on this path. First, page header injection places the script in the page's <head> rather than the footer; the async attribute keeps it from blocking rendering, so the practical difference is negligible. Second, if you use per-page injection, leave the sitewide footer field empty. Running the snippet twice on the same page loads two widgets into the same corner.
| Sitewide footer injection | Per-page header injection | |
|---|---|---|
| Where it lives | Settings, Developer Tools, Code Injection | Pages panel, gear icon, Advanced |
| Coverage | Every page | Only the pages you choose |
| Best for | Support and sales coverage across the site | Targeted campaigns, single landing pages |
| Risk to avoid | None specific | Double-loading if combined with sitewide |
| Plan required | Core, Plus, or Advanced | Core, Plus, or Advanced |
For most businesses, sitewide is the right default. Visitors ask questions everywhere, not just on the contact page, and proactive coverage across the site captures more leads than a widget hidden on one URL.
Step 3: Verify It Is Live
Open your site in a fresh incognito tab and give it a couple of seconds. The chat bubble should appear in the bottom corner. Then test it the way a customer would: ask a question your site actually answers ("do you take weekend appointments," "what is your refund policy") and confirm the reply draws on your real content rather than generic filler.
If the answers feel thin, that is a training problem rather than an installation problem. The bot only knows what you have given it, and the difference between a live chat widget and an AI chatbot that actually resolves questions is entirely in the knowledge base behind it.
Troubleshooting
| Symptom | Likely cause | Fix |
|---|---|---|
| No Code Injection option in Settings | Entry-level plan | Upgrade to Core or higher |
| Widget missing on the live site | Snippet in the wrong field or not saved | Confirm it is in the Footer field and saved |
| Widget flashes, then disappears | Domain not on the allowed list | Add your Squarespace domain in the chatbot's Setup tab |
| Two chat bubbles | Sitewide and per-page injection both active | Remove one of the two |
| Widget shows but answers are generic | No training sources ingested | Add your site URL and documents, wait for training to finish |
| Widget works on the built-in domain but not the custom one | Custom domain missing from the allowed list | Add both domains |
The Bottom Line
On a plan with code injection, adding an AI chatbot to Squarespace takes about five minutes: copy one script tag, paste it into Settings, Developer Tools, Code Injection, Footer, save, and test in an incognito window. The plan gate is the only real obstacle, and it applies equally to every embedded tool on the platform.
The same one-tag pattern works nearly everywhere: we have step by step versions of this guide for WordPress and Wix as well, and the general version for any platform is in our guide to adding a live chat widget to your website.
More Articles
How to Add a Chatbot to Your Wix Website in Minutes
A step by step guide to installing an AI chatbot on Wix Studio or the classic Wix Editor, what the retirement of Wix Chat means for site owners, and how to choose between the native and embedded options.
June 20, 2026
How to Add an AI Chatbot to a WordPress Website (Step by Step)
Three tested ways to install an AI chatbot on WordPress, from the official plugin route to a manual theme edit, with caching gotchas, troubleshooting, and performance notes.
June 20, 2026