
How to Add an AI Chatbot to a WordPress Website (Step by Step)
Three tested ways to install an AI chatbot on WordPress, from the official plugin route to a manual theme edit, with caching gotchas, troubleshooting, and performance notes.

Stan
@stan
WordPress runs 41.5 percent of all websites on the internet, which works out to a 59.2 percent share of every site built on a content management system, according to W3Techs survey data from July 2026. That scale has a practical consequence: if you are adding an AI chatbot to a website this year, the odds are roughly two in five that the website is WordPress.
The good news is that WordPress is one of the easiest platforms to install a chatbot on. The complicated part is choosing between the three installation methods, understanding what caching plugins do to your install, and knowing which failure modes to check when the widget does not appear. This guide covers all of it, step by step, with the trade-offs of each approach laid out before you commit to one.
Share of All Websites by Content Management System
WordPress runs 41.5% of every website on the internet, roughly eight times its nearest competitor.
Source: W3Techs Web Technology Surveys, July 2026. Percentages are of all websites, including sites that use no CMS.
Why WordPress Sites Are Adding AI Chat
A chatbot on a WordPress site is not a novelty widget anymore. The behavioral data explains why adoption keeps climbing:
- 82 percent of customers expect an immediate response when they open a chat window, and 71 percent consider anything over 60 seconds too slow, according to 2026 live chat benchmarks.
- 53 percent of visitors abandon a chat if nobody responds within three minutes.
- Chat conversations convert at roughly 10 to 20 percent, compared to 2 to 3 percent for traditional contact forms, per chat-to-conversion industry data.
A human team cannot deliver sub-minute responses around the clock. An AI chatbot trained on your own content answers in about a second, at any hour, which is why the pattern has shifted from "live chat staffed by people" to "AI first, humans for escalation." If you want a deeper look at that distinction, we compared the two models in live chat versus AI chatbots.
Before You Start: Two Prerequisites
Every method below assumes two things are already true.
You have a trained chatbot. The widget is just a delivery mechanism. The value comes from a bot that has actually learned your content, whether that is crawled pages, uploaded PDFs, or pasted text. If you have not built one yet, the process takes about ten minutes and is covered in our guide to training an AI chatbot on your own business data. With Paperchat specifically, you can paste your WordPress site's URL and let the crawler ingest your existing pages, which means your published content becomes the knowledge base with no copying involved.
Your domain is on the allowed list. Most reputable chatbot platforms, Paperchat included, refuse to load the widget on domains you have not explicitly authorized. This prevents someone from embedding your bot, and burning your usage quota, on a site you do not control. In the Paperchat dashboard this lives under your chatbot's Setup tab as Allowed Domains. Add your production domain, and your staging domain if you have one, before you install anything.
The Three Installation Methods Compared
WordPress gives you more than one way to inject a script sitewide. Which one you should use depends on your hosting setup, your comfort with theme files, and how much control you want.
| Official plugin | Code snippet plugin | Manual theme edit | |
|---|---|---|---|
| Difficulty | Easiest | Easy | Moderate |
| Survives theme updates | Yes | Yes | No, unless you use a child theme |
| Survives theme switches | Yes | Yes | No |
| Per-page control | Yes, toggle or shortcode | Depends on plugin | No, sitewide only |
| Requires copying the chatbot ID | No, picks from a dropdown | Yes | Yes |
| Works on restricted managed hosts | Usually | Usually | Sometimes blocked |
| Best for | Most sites | Sites already running WPCode or similar | Developers, child-theme setups |
The short version: use the official plugin if one exists for your chatbot platform, use a snippet manager if you already run one, and only edit theme files directly if you know why you are doing it.
Method 1: The Official Plugin (Recommended)
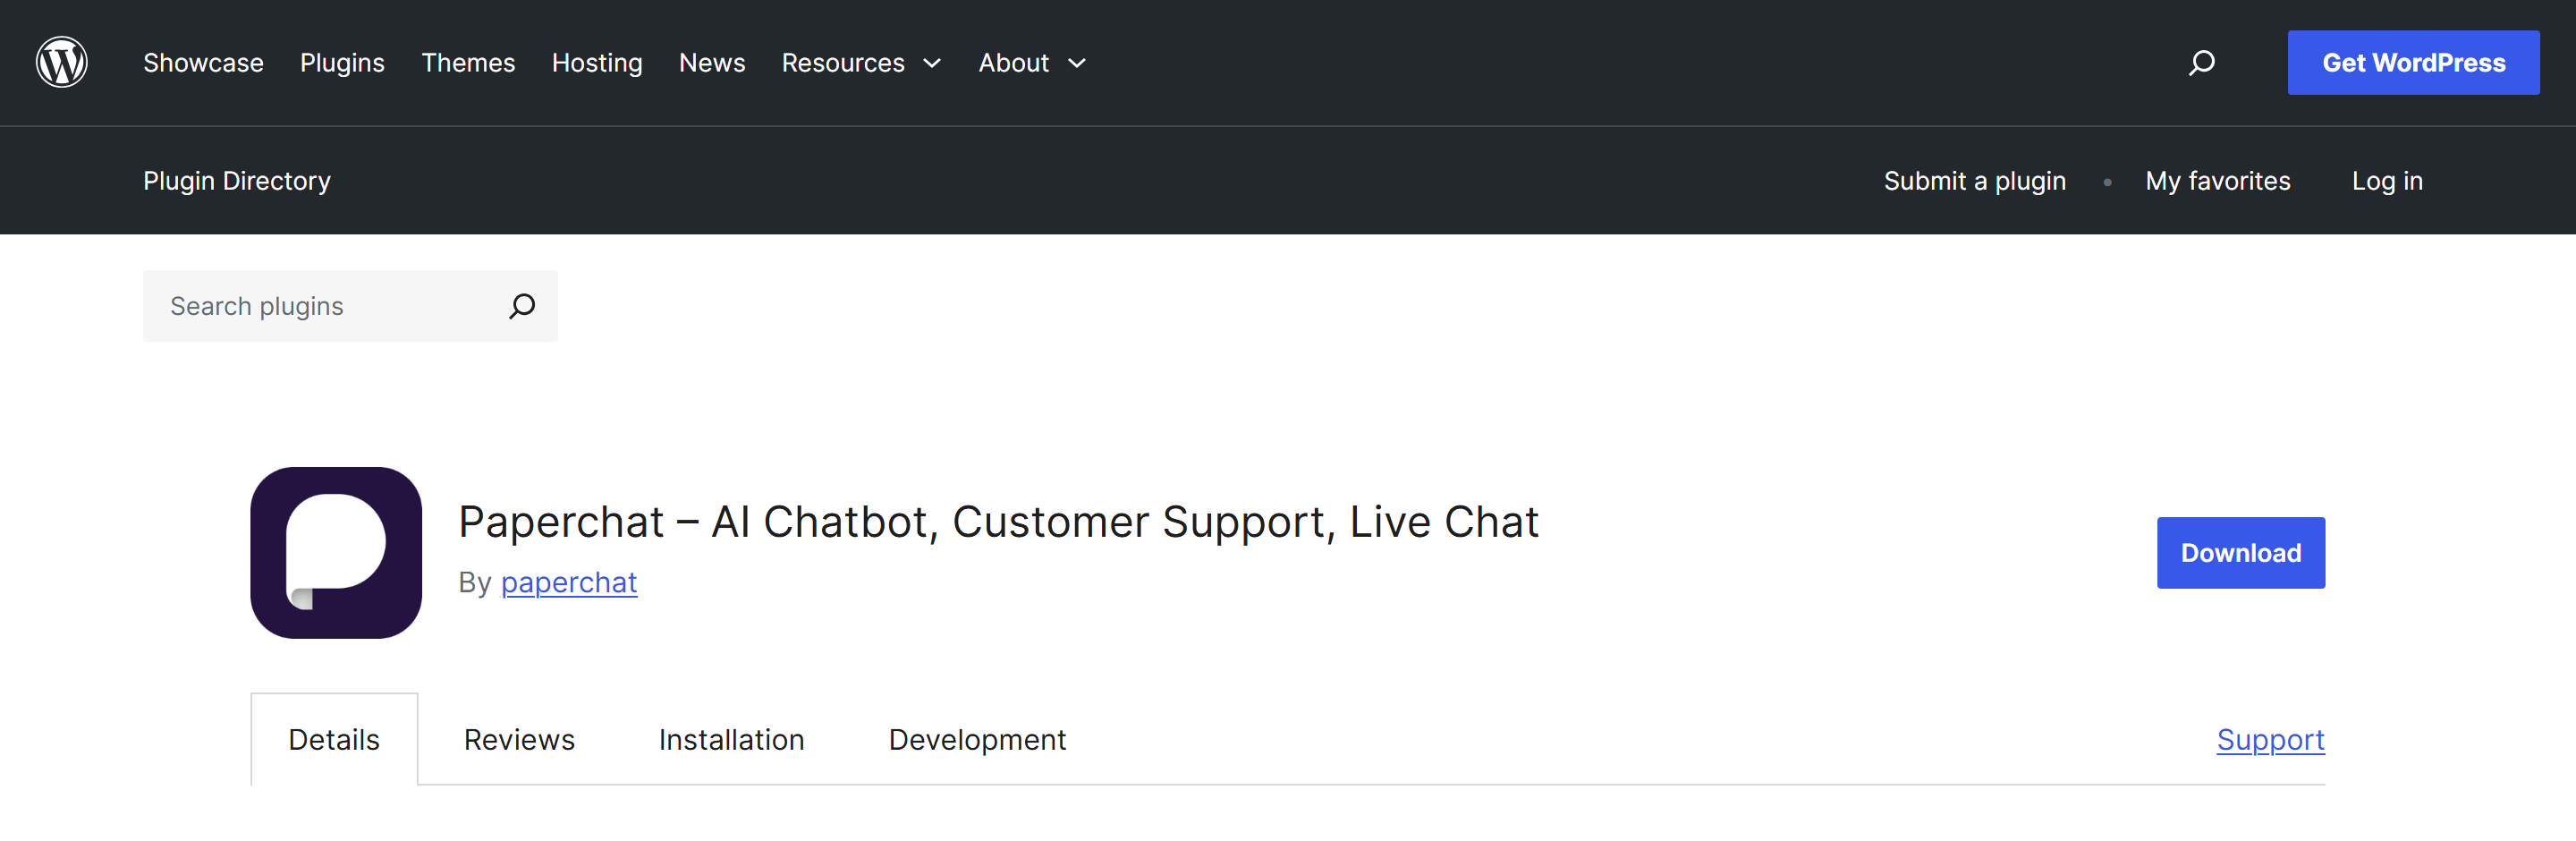
Paperchat publishes an official WordPress plugin on WordPress.org, and the workflow below is representative of how most serious chatbot platforms handle WordPress. The advantage of a purpose-built plugin over pasting code is that your theme files stay untouched and the plugin fetches your chatbot list for you, so there is no ID to copy wrong.
Step 1: Install the plugin
In your WordPress admin, go to Plugins > Add New and search for Paperchat. Click Install Now, then Activate. The whole exchange takes under a minute on a typical install.
Step 2: Create an API key
The plugin authenticates with an API key rather than a chatbot ID. In your Paperchat dashboard, go to Settings > API Keys, click New API Key, name it something identifiable like "WordPress," and copy the key.
An API key approach has a quiet benefit here: you can revoke the key from the dashboard at any time without touching WordPress, which matters if you ever hand the site to an agency or contractor.
Step 3: Connect and pick your chatbot
Back in WordPress, open Settings > Paperchat, paste the key, and click Fetch Chatbots. The plugin loads every chatbot on your account into a dropdown. Select the one you want on this site and save.
Step 4: Decide where the widget loads
By default the widget loads on every page. If you want it only on specific pages, uncheck the sitewide toggle and place the [paperchat_widget] shortcode on the pages where it should appear. This is useful when you want a support bot on documentation pages but not on a landing page you are A/B testing.
Click Save Changes and the widget is live on the next page load.
Method 2: A Code Snippet Plugin
If your chatbot platform has no official plugin, or you already manage custom scripts through a snippet manager like WPCode, Insert Headers and Footers, or Code Snippets, this is the next-best path. It keeps theme files clean and survives both theme updates and theme switches.
First, get your embed code. In Paperchat it lives in the Embed tab of your chatbot, with a dedicated WordPress tab that shows the exact snippet:
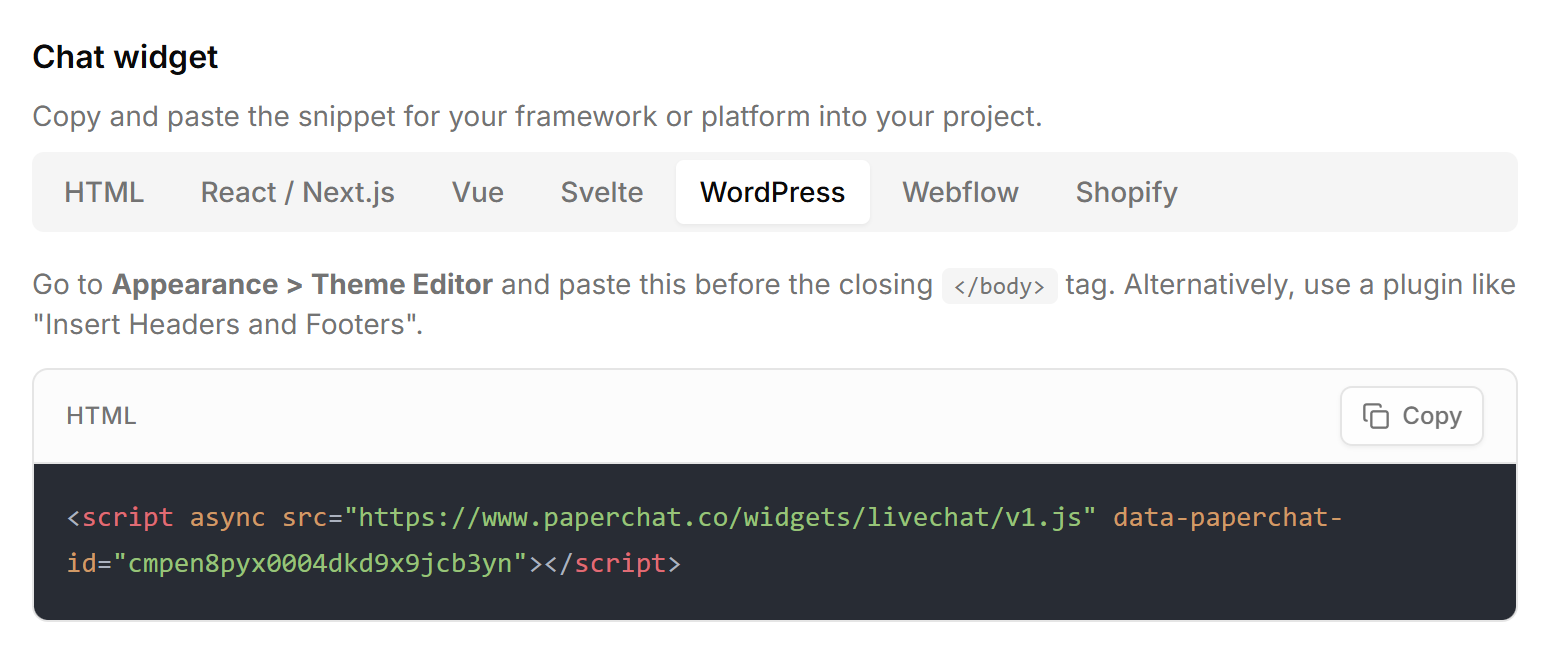
The snippet is a single script tag:
<script async src="https://www.paperchat.co/widgets/livechat/v1.js" data-paperchat-id="YOUR_CHATBOT_ID"></script>Then, in your snippet plugin, create a new snippet of type "HTML" or "Footer," paste the tag, set it to load sitewide in the footer, and enable it. Loading in the footer rather than the header is deliberate: the chat widget does not need to run while the page is still parsing, and footer placement keeps it out of the critical rendering path.
Method 3: Editing Theme Files Directly
The manual route works everywhere but is the most fragile. Use it only when you cannot install plugins, for example on a locked-down managed host with an approved-plugin list.
- In your WordPress admin, go to Appearance > Theme File Editor.
- Open
footer.phpfrom the file tree. - Paste the embed snippet just before the closing
</body>tag. - Click Update File.
The widget appears immediately on every page that uses the theme. The fragility comes from updates: when your theme ships a new version, the updated footer.php overwrites your edit and the widget silently disappears. If you must go this route for the long term, make the edit in a child theme so updates to the parent theme leave it intact.
If You Run WooCommerce
WooCommerce stores are regular WordPress sites underneath, so all three methods work unchanged. The specific consideration is placement: product pages, cart, and checkout are where purchase-blocking questions happen, and answering them in the moment is measurably tied to fewer abandoned carts. The official Paperchat plugin detects WooCommerce templates automatically and lets you toggle the widget per product, and per cart or checkout page, from the settings.
There is a fuller treatment of the store-specific setup, including connecting live product data to the bot, in our WooCommerce AI chatbot guide.
Caching: The Most Common Gotcha
More WordPress chatbot support tickets trace back to caching than to any other cause. WordPress sites commonly run a page cache (WP Rocket, W3 Total Cache, LiteSpeed Cache), often behind a CDN or host-level edge cache, and each layer can keep serving the pre-install version of your HTML long after you added the widget.
The symptom is distinctive: the widget shows up when you are logged in as an admin, because caches typically bypass logged-in users, but visitors see nothing. The fix is mechanical:
- Purge your WordPress caching plugin's cache.
- Purge the CDN or edge cache if your host runs one.
- Retest in an incognito window, which is how a first-time visitor sees your site.
Testing Your Installation
Do not judge the install from your logged-in admin view. Open an incognito tab, load your homepage, and confirm the chat bubble appears within a couple of seconds. Then ask it a question a real customer would ask, something specific to your business, and check that the answer draws on your actual content.
| Symptom | Likely cause | Fix |
|---|---|---|
| No widget for visitors, visible to admins | Stale page cache | Purge all cache layers |
| Widget flashes, then disappears | Domain not on the allowed list | Add the domain in the chatbot's Setup tab |
| Plugin cannot fetch chatbots | API key copied with spaces or revoked | Re-copy or reissue the key |
| Widget loads but answers are generic | No training data ingested | Add sources and wait for training to finish |
| Two chat bubbles fighting for the corner | An old chat plugin still active | Deactivate the previous widget |
That last row is more common than you would expect. Sites that previously ran Tidio, Crisp, or Intercom often leave the old plugin active, and two widgets stacked in the same corner breaks both.
Does a Chat Widget Slow WordPress Down?
Page speed is a fair concern on WordPress, where plugin bloat is a real phenomenon. A well-built chat widget avoids the problem in two ways. First, the script tag carries the async attribute, so the browser downloads it in parallel without pausing HTML parsing. Second, footer placement means everything above it renders first. In practice the widget has no measurable effect on Largest Contentful Paint, since it neither blocks rendering nor competes for bandwidth during the initial paint.
The comparison worth making is not "widget versus no widget" but "one async script versus a full live chat plugin suite." Plugin-based chat tools that bundle their own admin interfaces, database tables, and asset pipelines into WordPress itself carry far more weight than a hosted widget delivered through a single tag.
After the Install: Make the Bot Worth Talking To
Installation is the easy 10 percent. The bot's usefulness is decided by what it knows and how it behaves when it does not know something. Three things are worth doing in the first week:
- Review real conversations. The questions visitors actually ask will differ from the ones you predicted, and the gaps tell you exactly what content to add.
- Keep the knowledge base synced. If your WordPress content changes weekly, set the crawler to re-sync so the bot never quotes an outdated page.
- Configure the escalation path. Decide what happens when the bot hits its limits: hand off to a human, collect an email, or open a ticket. The most frequent training errors, and how to avoid them, are cataloged in seven mistakes to avoid when training your chatbot.
The Bottom Line
Adding an AI chatbot to WordPress is a solved problem with three well-understood paths. The official plugin is the right default: no theme edits, no ID copying, per-page control, and it survives every theme update. A snippet manager is a fine substitute, and direct theme edits are the fallback of last resort. Whichever route you take, purge your caches, test logged out, and spend your remaining energy where it actually compounds, which is training the bot on content worth answering with.
If you want the condensed reference version of this walkthrough, the WordPress integration guide covers both install paths with annotated steps.
More Articles
How to Set Up a WooCommerce AI Chatbot for Your Online Store
A complete guide to adding Paperchat to your WooCommerce store — covering product questions, order tracking, returns, and cart recovery.
March 29, 2026
How to Train an AI Chatbot on Your Own Business Data
Learn how to feed your website, documents, and FAQs into Paperchat so your AI chatbot answers like an expert on your business.
March 29, 2026